Binding Lac des Pleurs
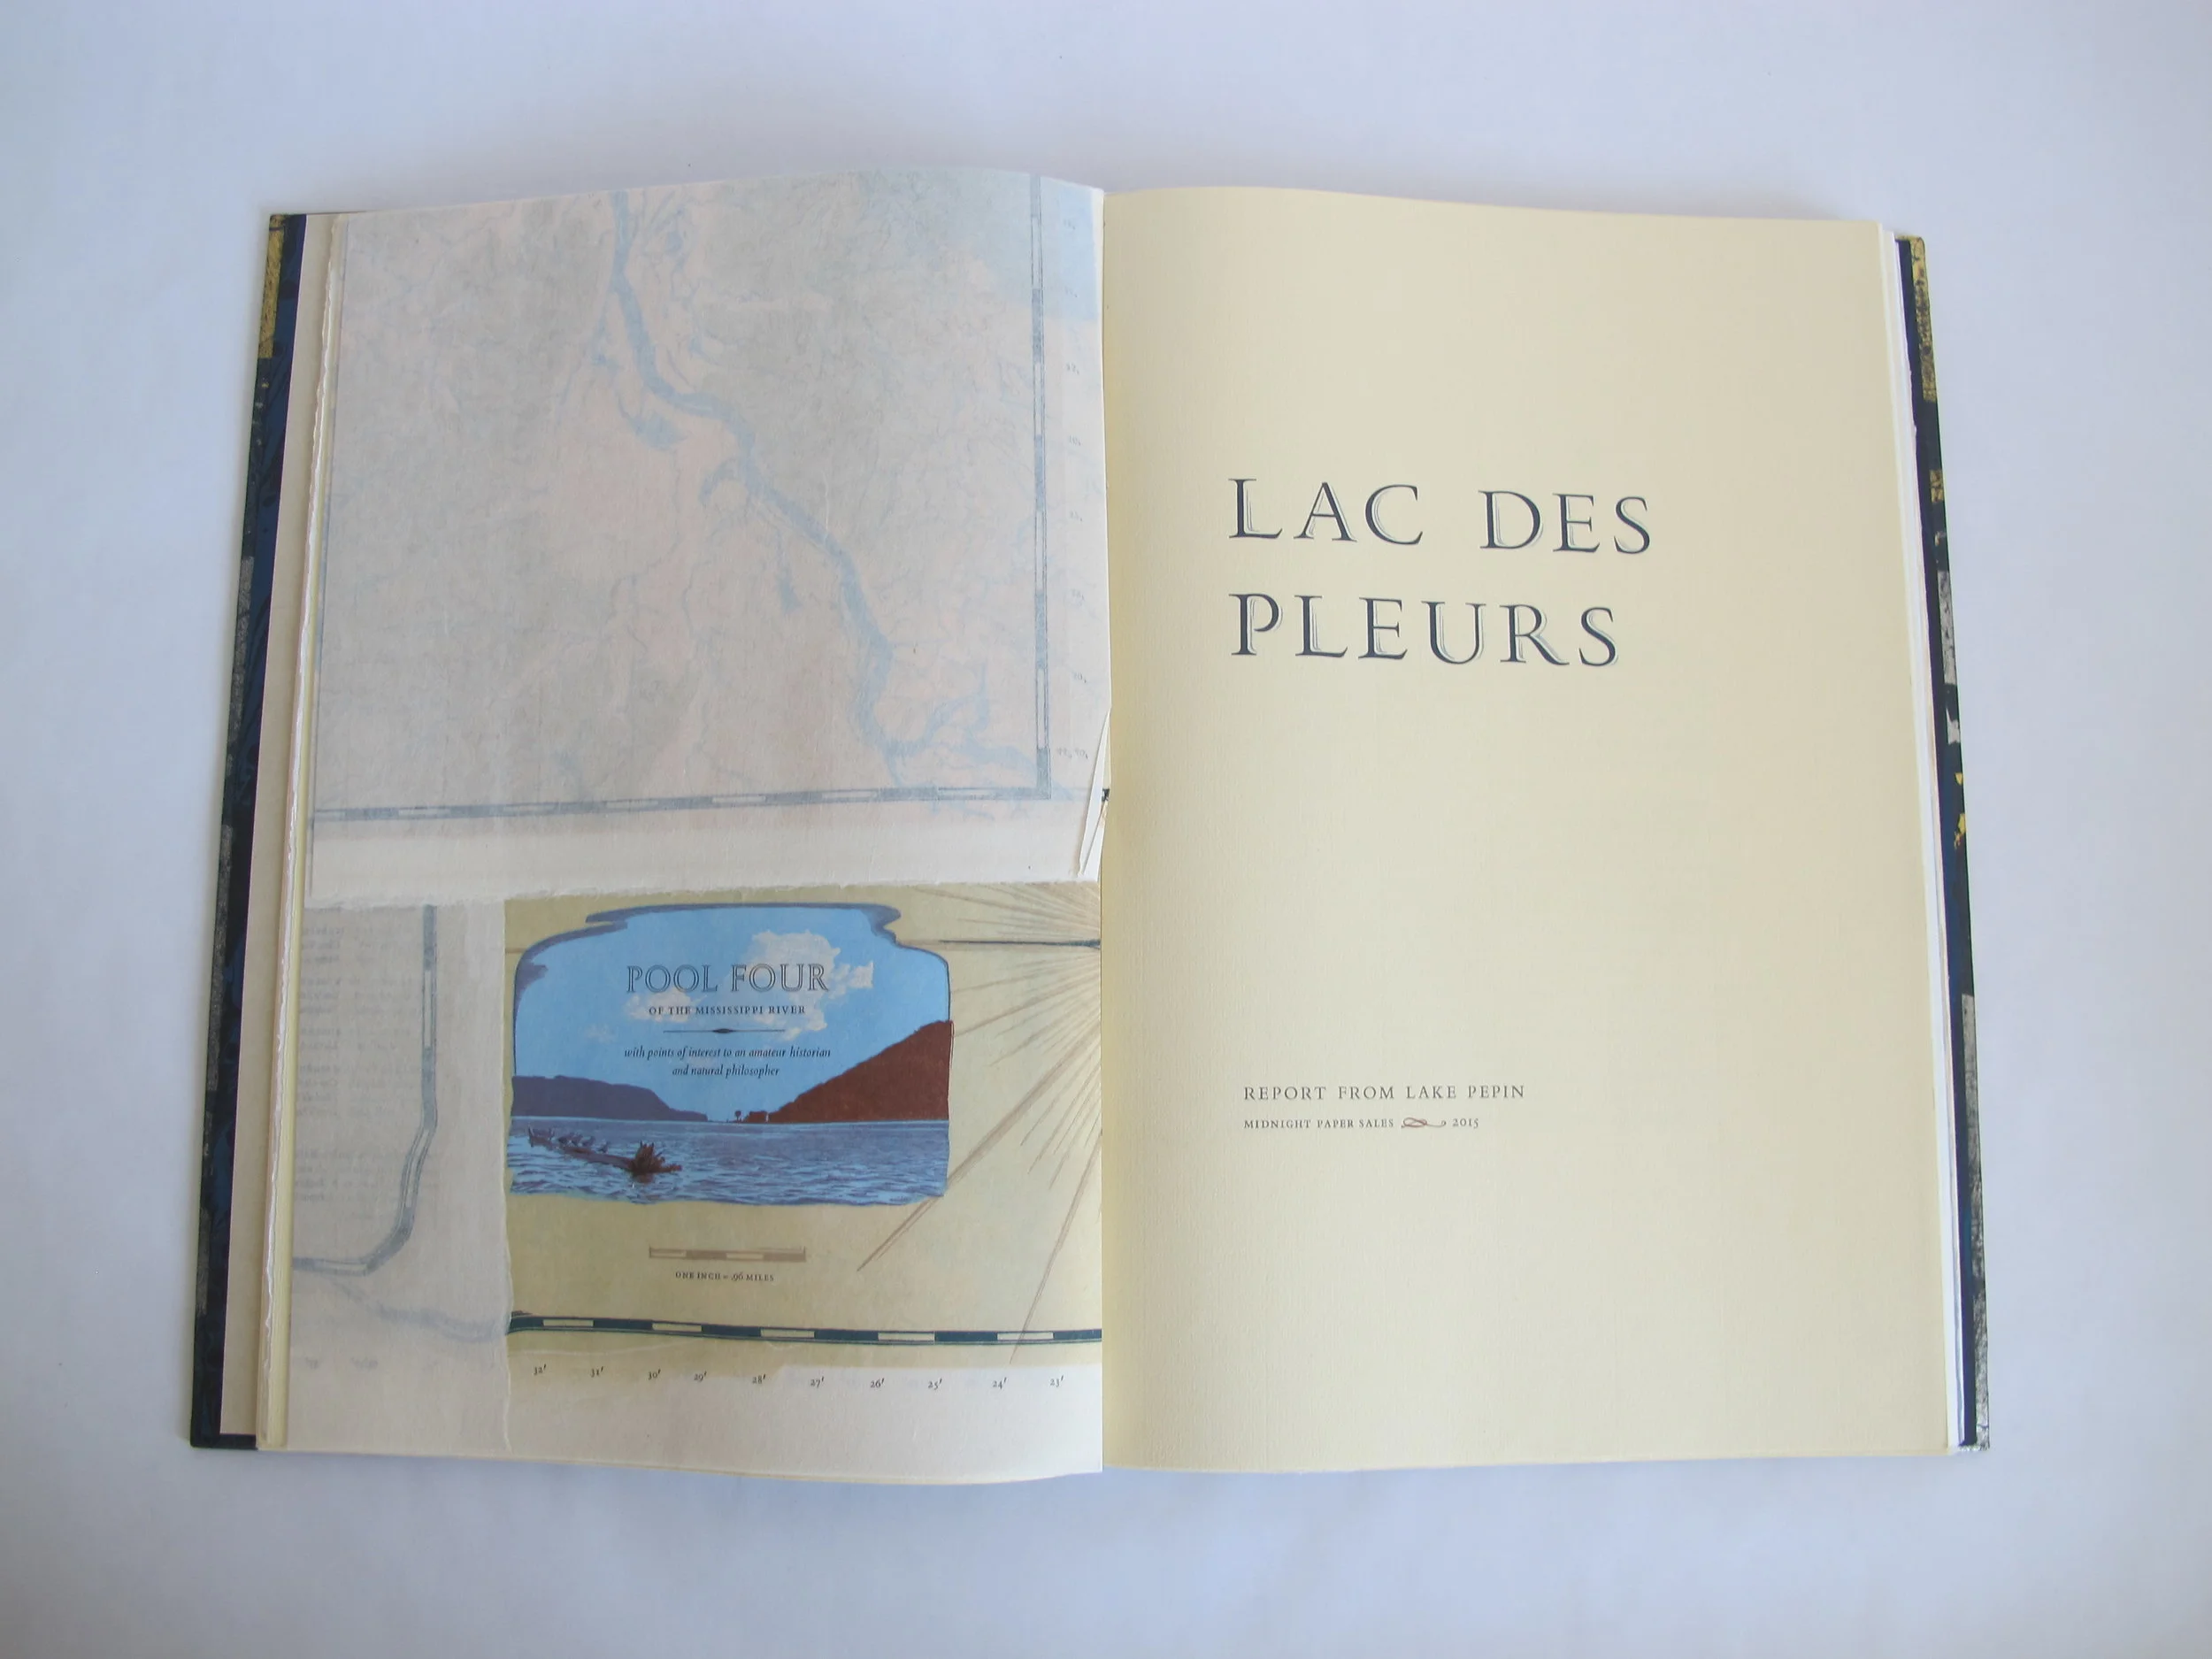
Lac des Pleurs is a masterpiece made by printer Gaylord Schanilec. It’s a combination history and personal recollection of journeys on Lake Pepin on the border of Minnesota and Wisconsin. I was fortunate enough to meet Gaylord one spring in New York during a book fair, where I expressed admiration for another work of his, Sylvae. He mentioned he was working on another project, and that he would be selling some books in sheets when he had finished the edition run. I leapt at the chance to bind a book made by Gaylord.
When the print run was finished I got my sheets and the book was amazing. It was full of the fantastic wood engravings Gaylord is known for, depicting wildlife and scenes from the lake. After stopping to admire the book I packed up the sheets and put them in a drawer until the day when I would feel ready to bind them. I had only been binding full time for a handful of years after all and I wanted to house this beautiful work in a suitably beautiful binding. I didn’t have an idea of how long I would sit on them but I figured it would be at least a few years. But every time I saw Gaylord after that he would ask me “When are you going to bind that book you bought from me?” I felt a little pressure.
Gaylord had given me one piece of advice when it came to binding: make sure it opens well. This made sense, as the book had a huge amount of fold outs. You can see the largest in the photo above, which actually has a small wrinkle in it I need to go in and fix so it doesn’t stay that way forever. A binding that doesn’t open well will run a greater risk of those fold outs getting bent and folded whenever the book is looked at. If it opens well you still have to be careful, but it’s not as huge of a worry. I decided I wanted to bind this book on stubs, letting the pages lie flat and articulate at a different point from the spine. While I hadn’t done one before, I knew it would be a fairly simple process: have the stubs be the same thickness as the sections I was sewing so the spine would end up the same thickness as the text block.
There was only one problem: the sections in Lac des Pleurs are almost all different thicknesses. I really wanted this book to work so I decided to make a blank model from the same types of paper the real book was printed on. This ended up working well, and a very large scale model was complete. I knew how to sew on the stubs and I learned some things that would need to be changed in the actual binding I was going to do. I needed a way to cover this book in leather and after chatting with my extremely capable studiomate Erin Fletcher I settled on a three part Bradel binding, which I had also never done before. After making another smaller blank model I felt confident enough to proceed. I prepared my stubs, sewed the sections on, and completed the rest of the real binding work. Once I had finished the structure of the book I turned to the boards.
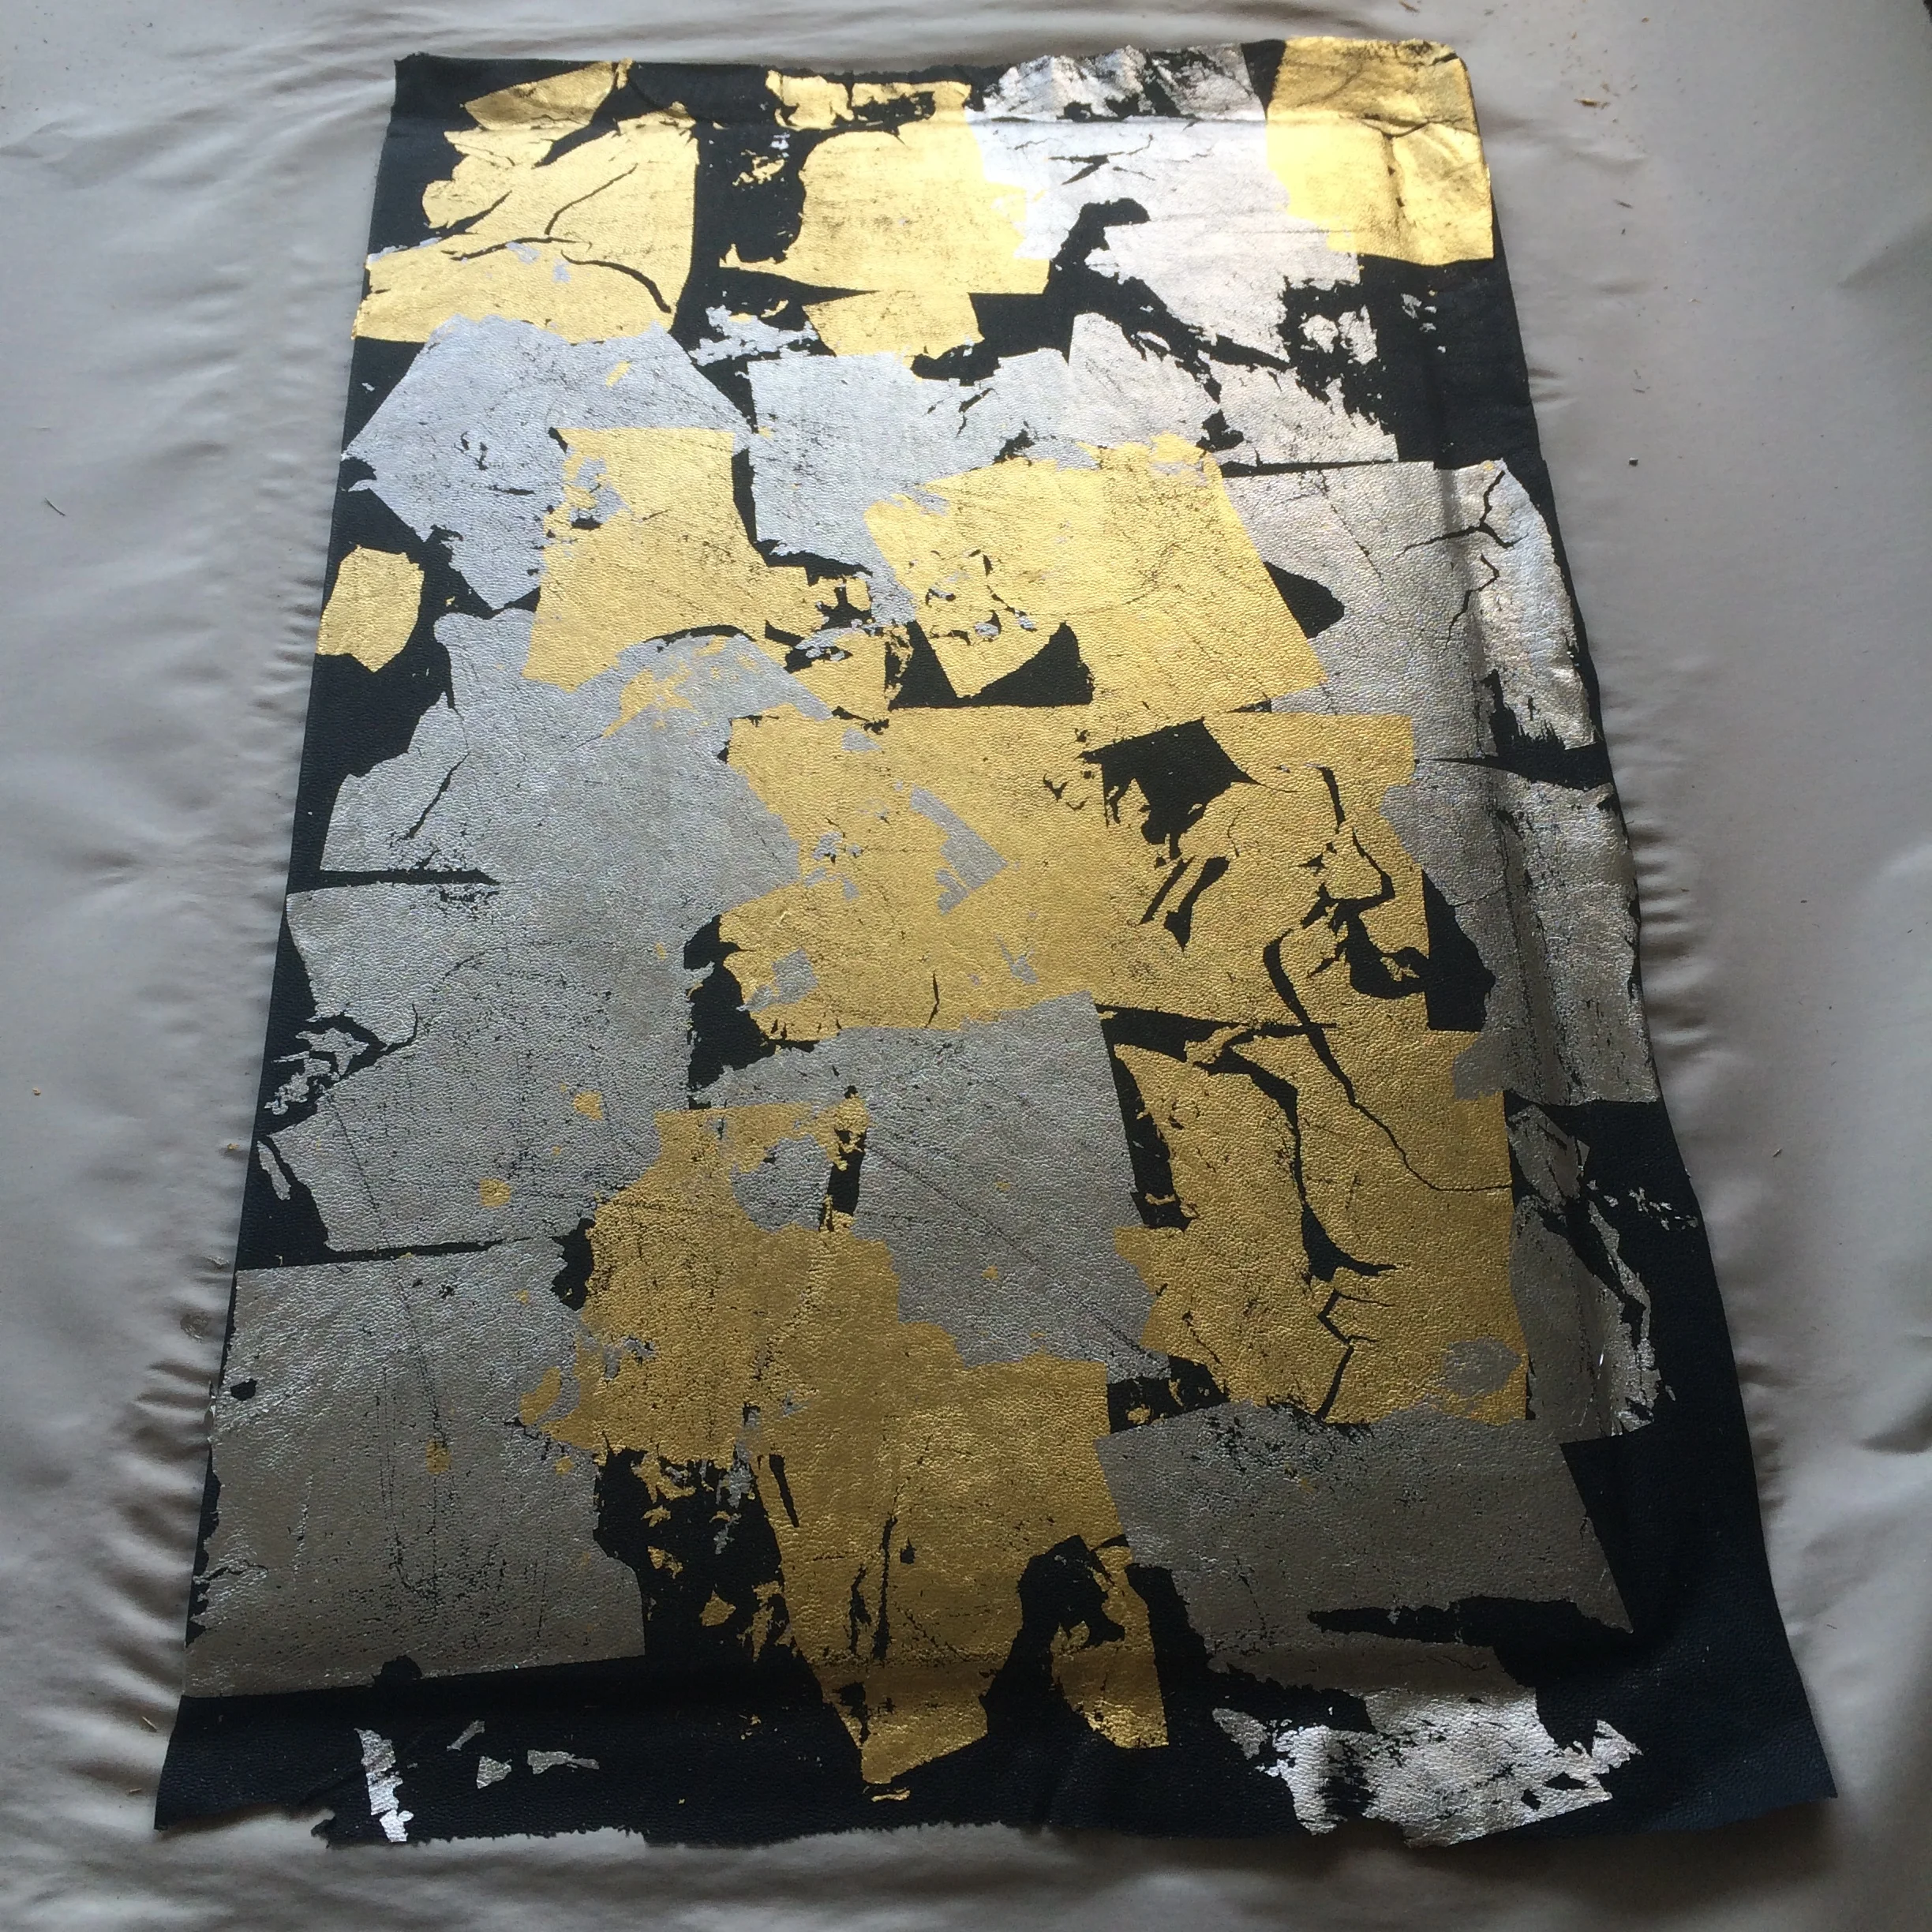

I’ve been interested in surface gilding for a while now, and I wanted a way to mimic the shimmering of the water. In order to do this I very messily applied palladium and gold to the boards after covering them in goatskin from Pergamena. I used PVA size to do this, as I’ve had good results from that technique before. Once it was applied I roughed up the surface using fine grit sandpaper in order to reduce the amount of shine and bring up the natural grain of the leather.

You can see here the amount of sanding done in this shot where the book has both boards on. I had previously put on the spine leather which was stamped with the book’s title. This was a big milestone in the project, but I still had a lot of work ahead of me.
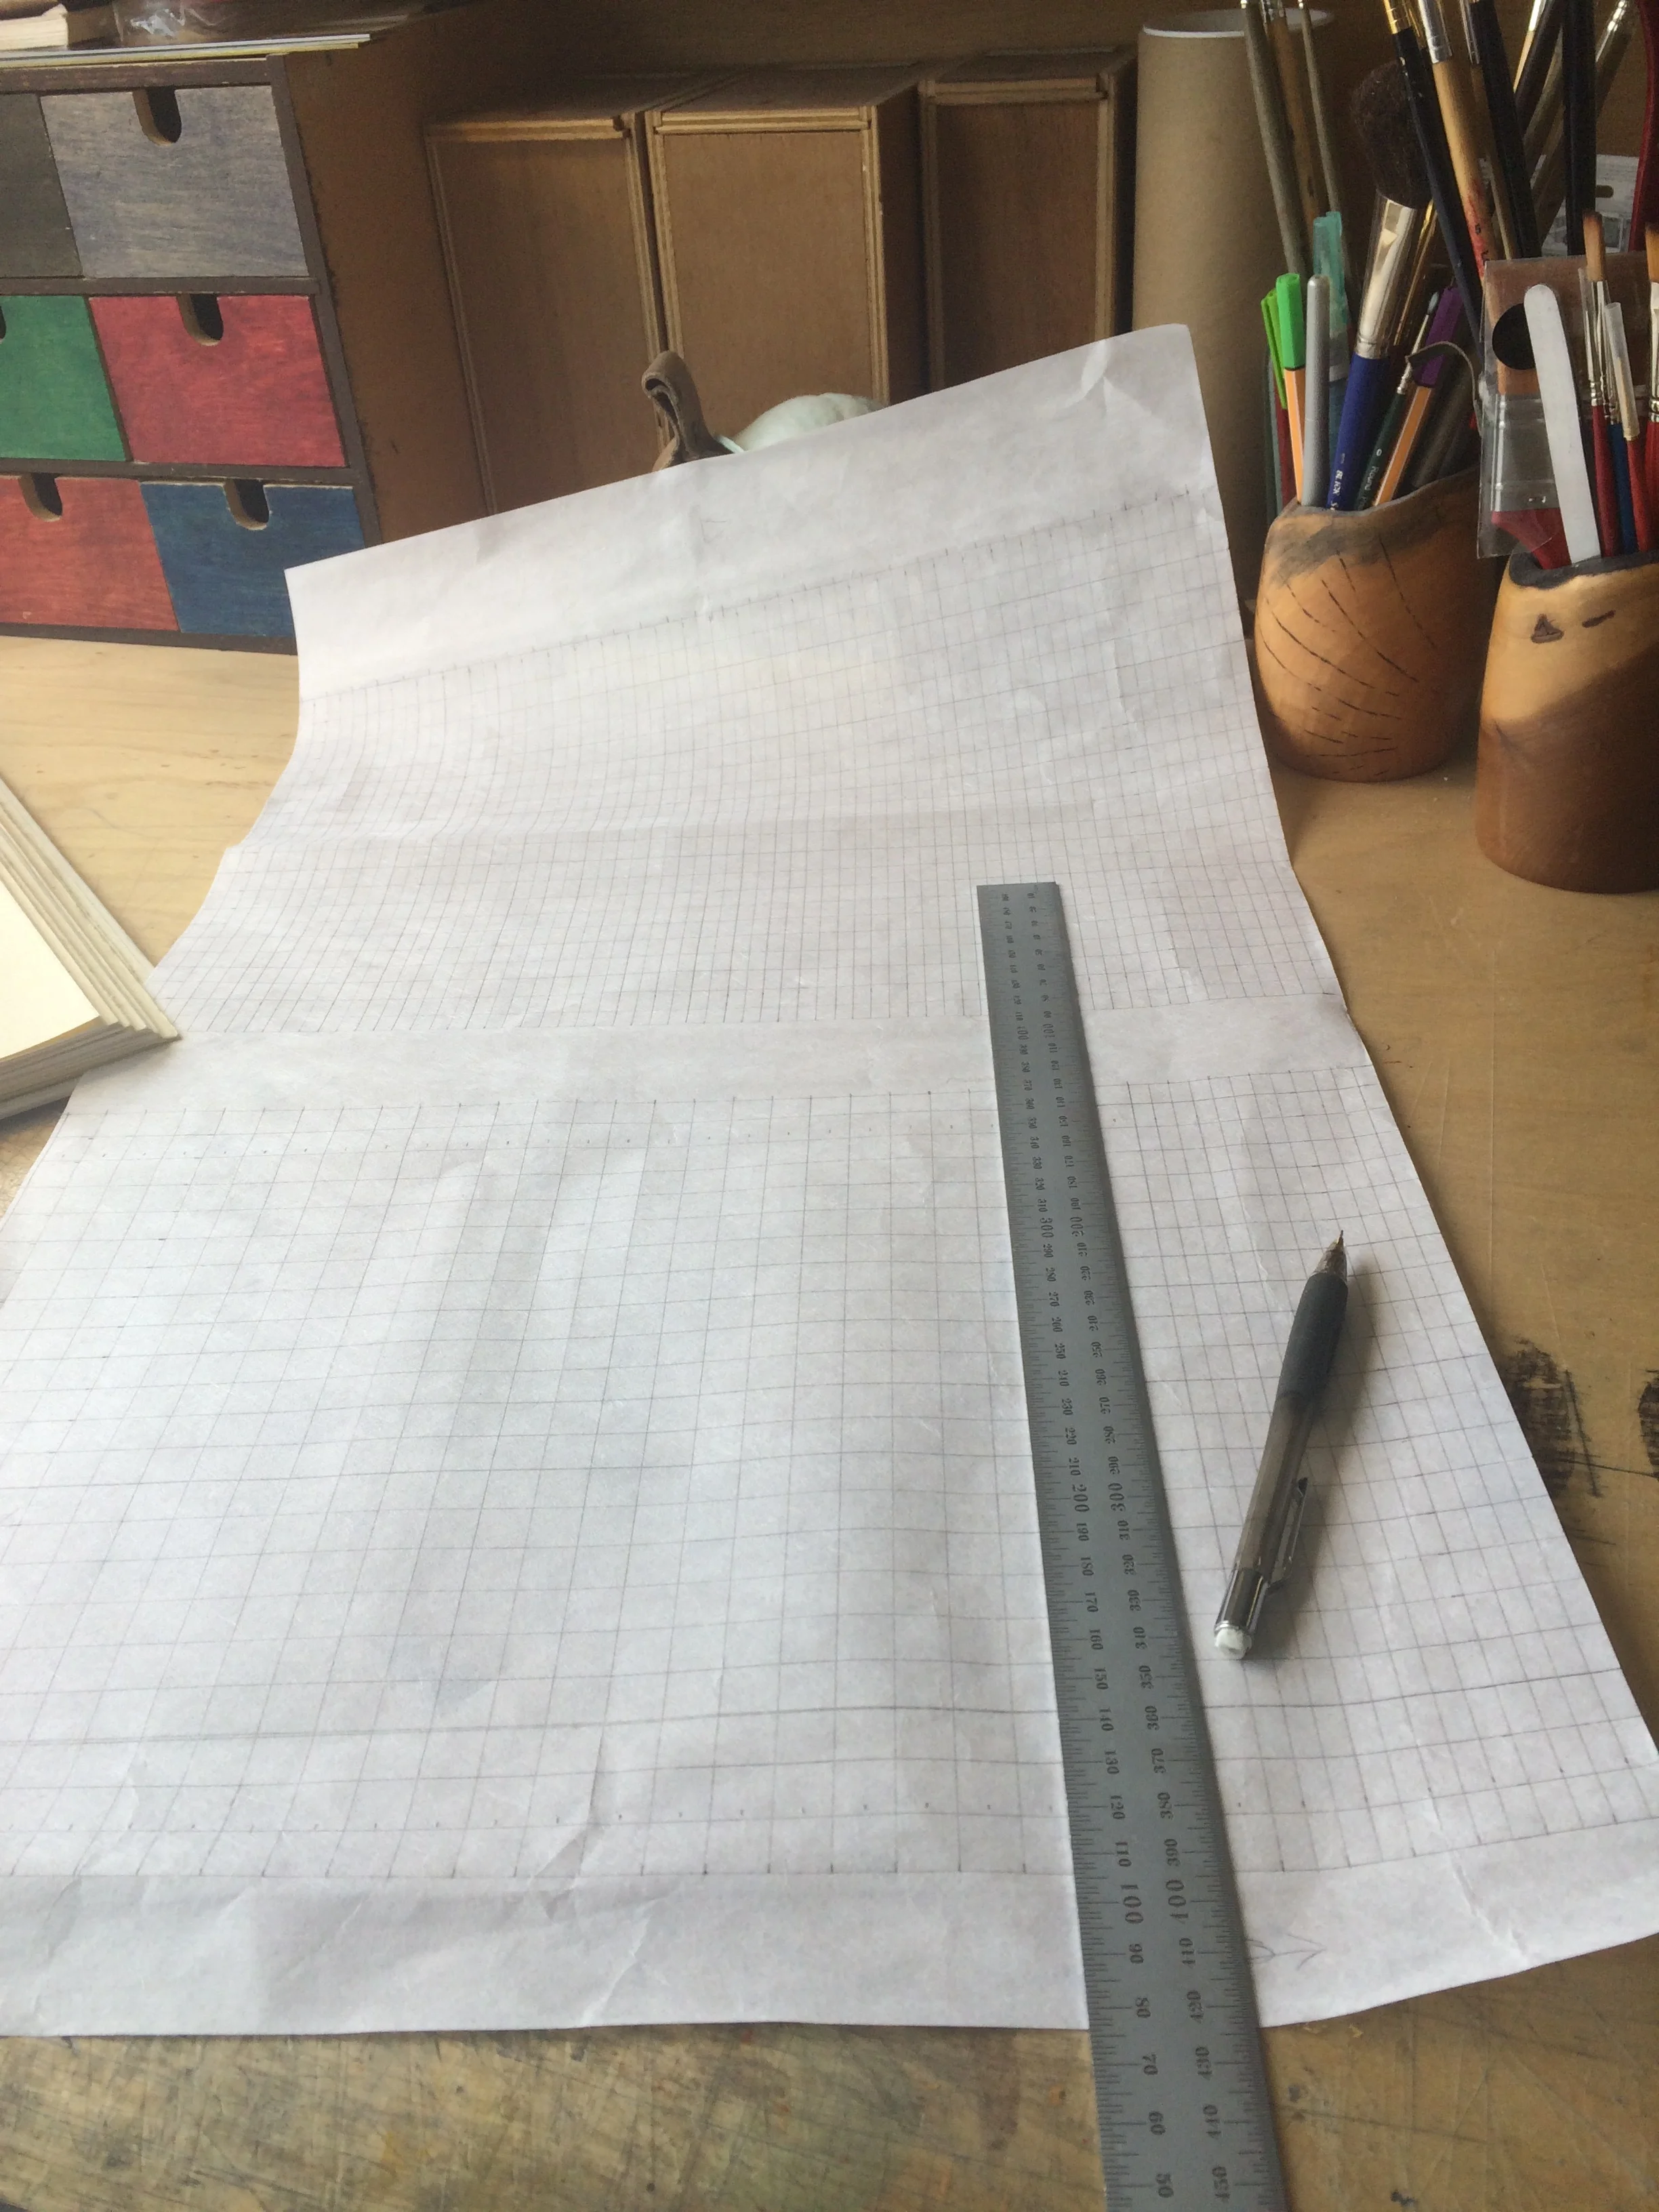
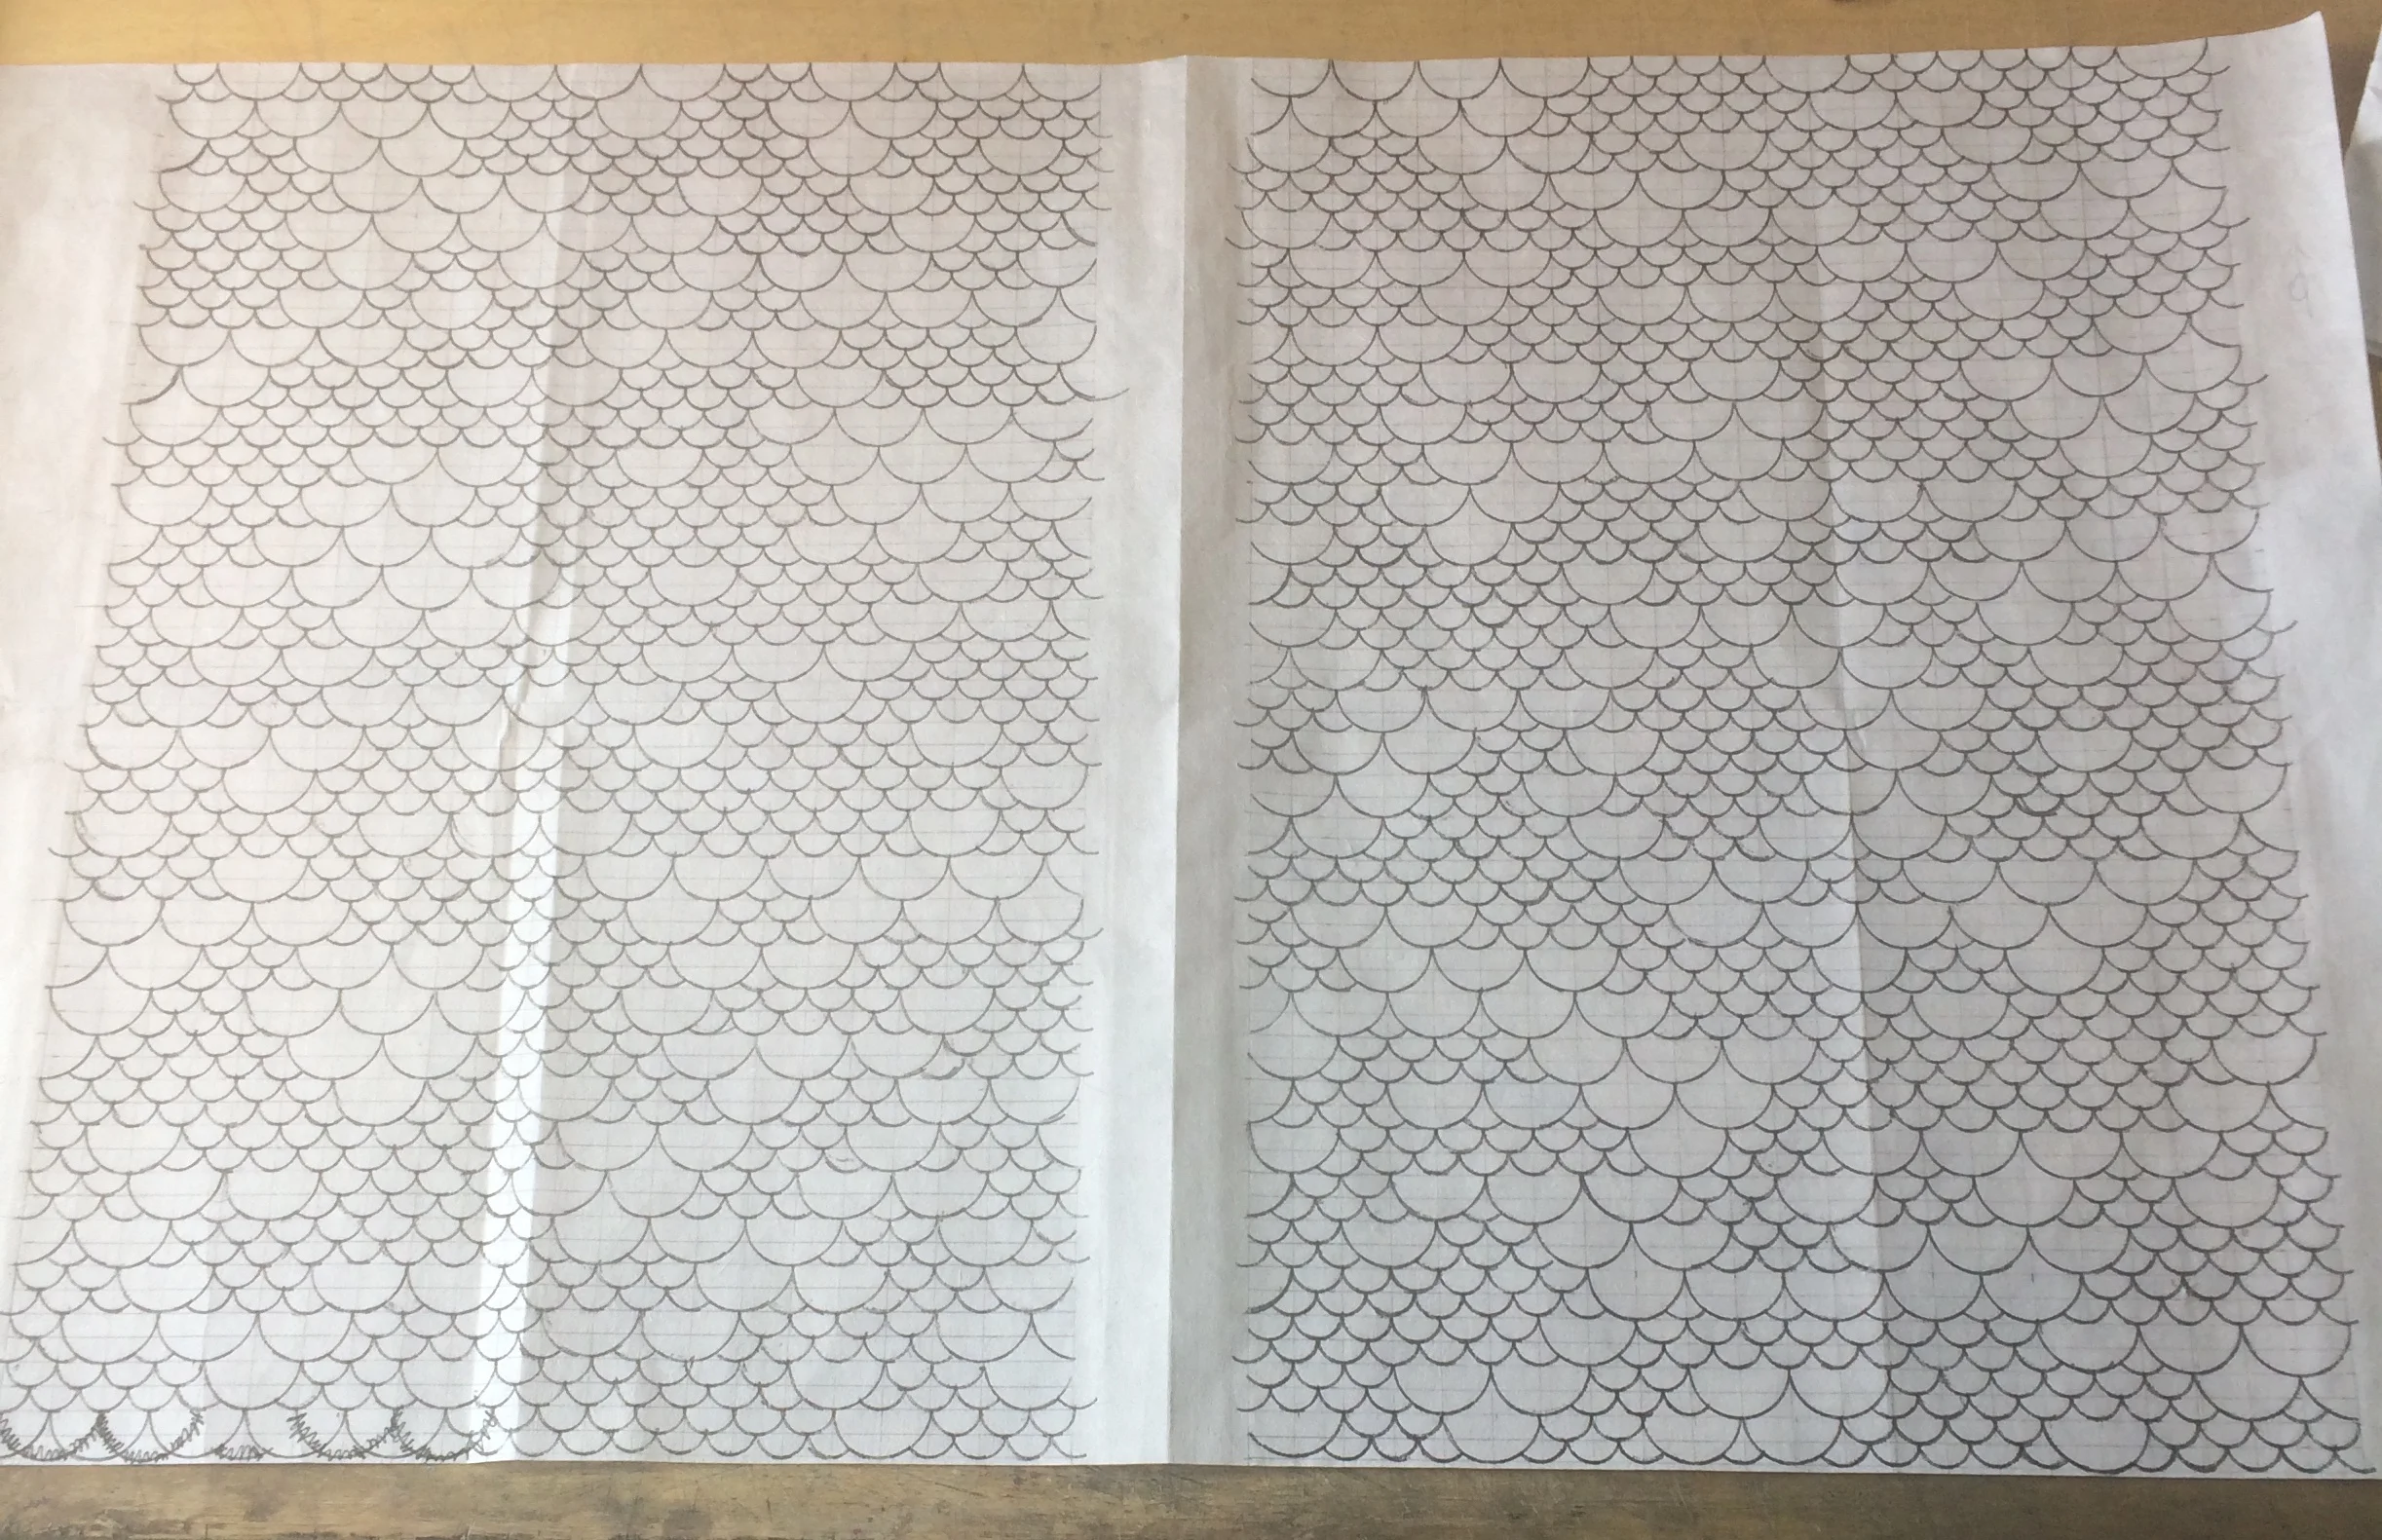
I’ve really wanted to start working in layers when it comes to decoration on my bindings. By this I mean doing one layer of decoration, then another on top of that one, and hopefully another on top of that, and so on. I love the feeling of depth this gives the book. For Lac des Pleurs I settled on a scallop design to echo both waves and fish scales. I do most of my layout by hand, which often involves making custom graph paper. For my tooling template I created cells that were twelve millimeters wide and six millimeters high. These measurements corresponded to the size of the tools I would be using to make my impressions. My next step was to lay out my pattern. This was done by making my impressions using a stamp pad with the tools I was using. I could only do this for an hour or two before my eyes started to lose focus. As you can see here the design is different on the front and back boards. I find making repeating patterns very satisfying. I also love seeing what amazing results can be achieved using a very small selection of tools. All this work was done by just two curved gouges.

And here the book is after all the tooling is done. The impressions are made my heating up a brass tool and imprinting it onto the leather, which is dampened with water beforehand. This is done in several stages: first on dry leather through the template, then with dry leather without the template, and then on wet leather without the template. When a hot tool is applied to damp goatskin the impression will turn a little darker. In order to bring all the impressions to the same color each impression will need to be hit multiple times. In addition to this the gold and palladium has been stripped out of the impressions. This is because the PVA in the size I used to adhere the metals to the leather is heat activated. By applying the heated tool to the leather the adhesive reverses, sticking the metal in the impression to my tool. This has the disadvantage of making the tool rather sticky, so it needs to be cleaned thoroughly before being used for another purpose.

But there’s more to be done! In addition to all this I decided to add some tooled edge onlays and scratch the top layer of leather off some of the panels. This does a few things: it looks nice, it breaks up some of the straight lines leftover from when I put the gold and palladium on, and it adds some more nice texture to anyone handling the book.
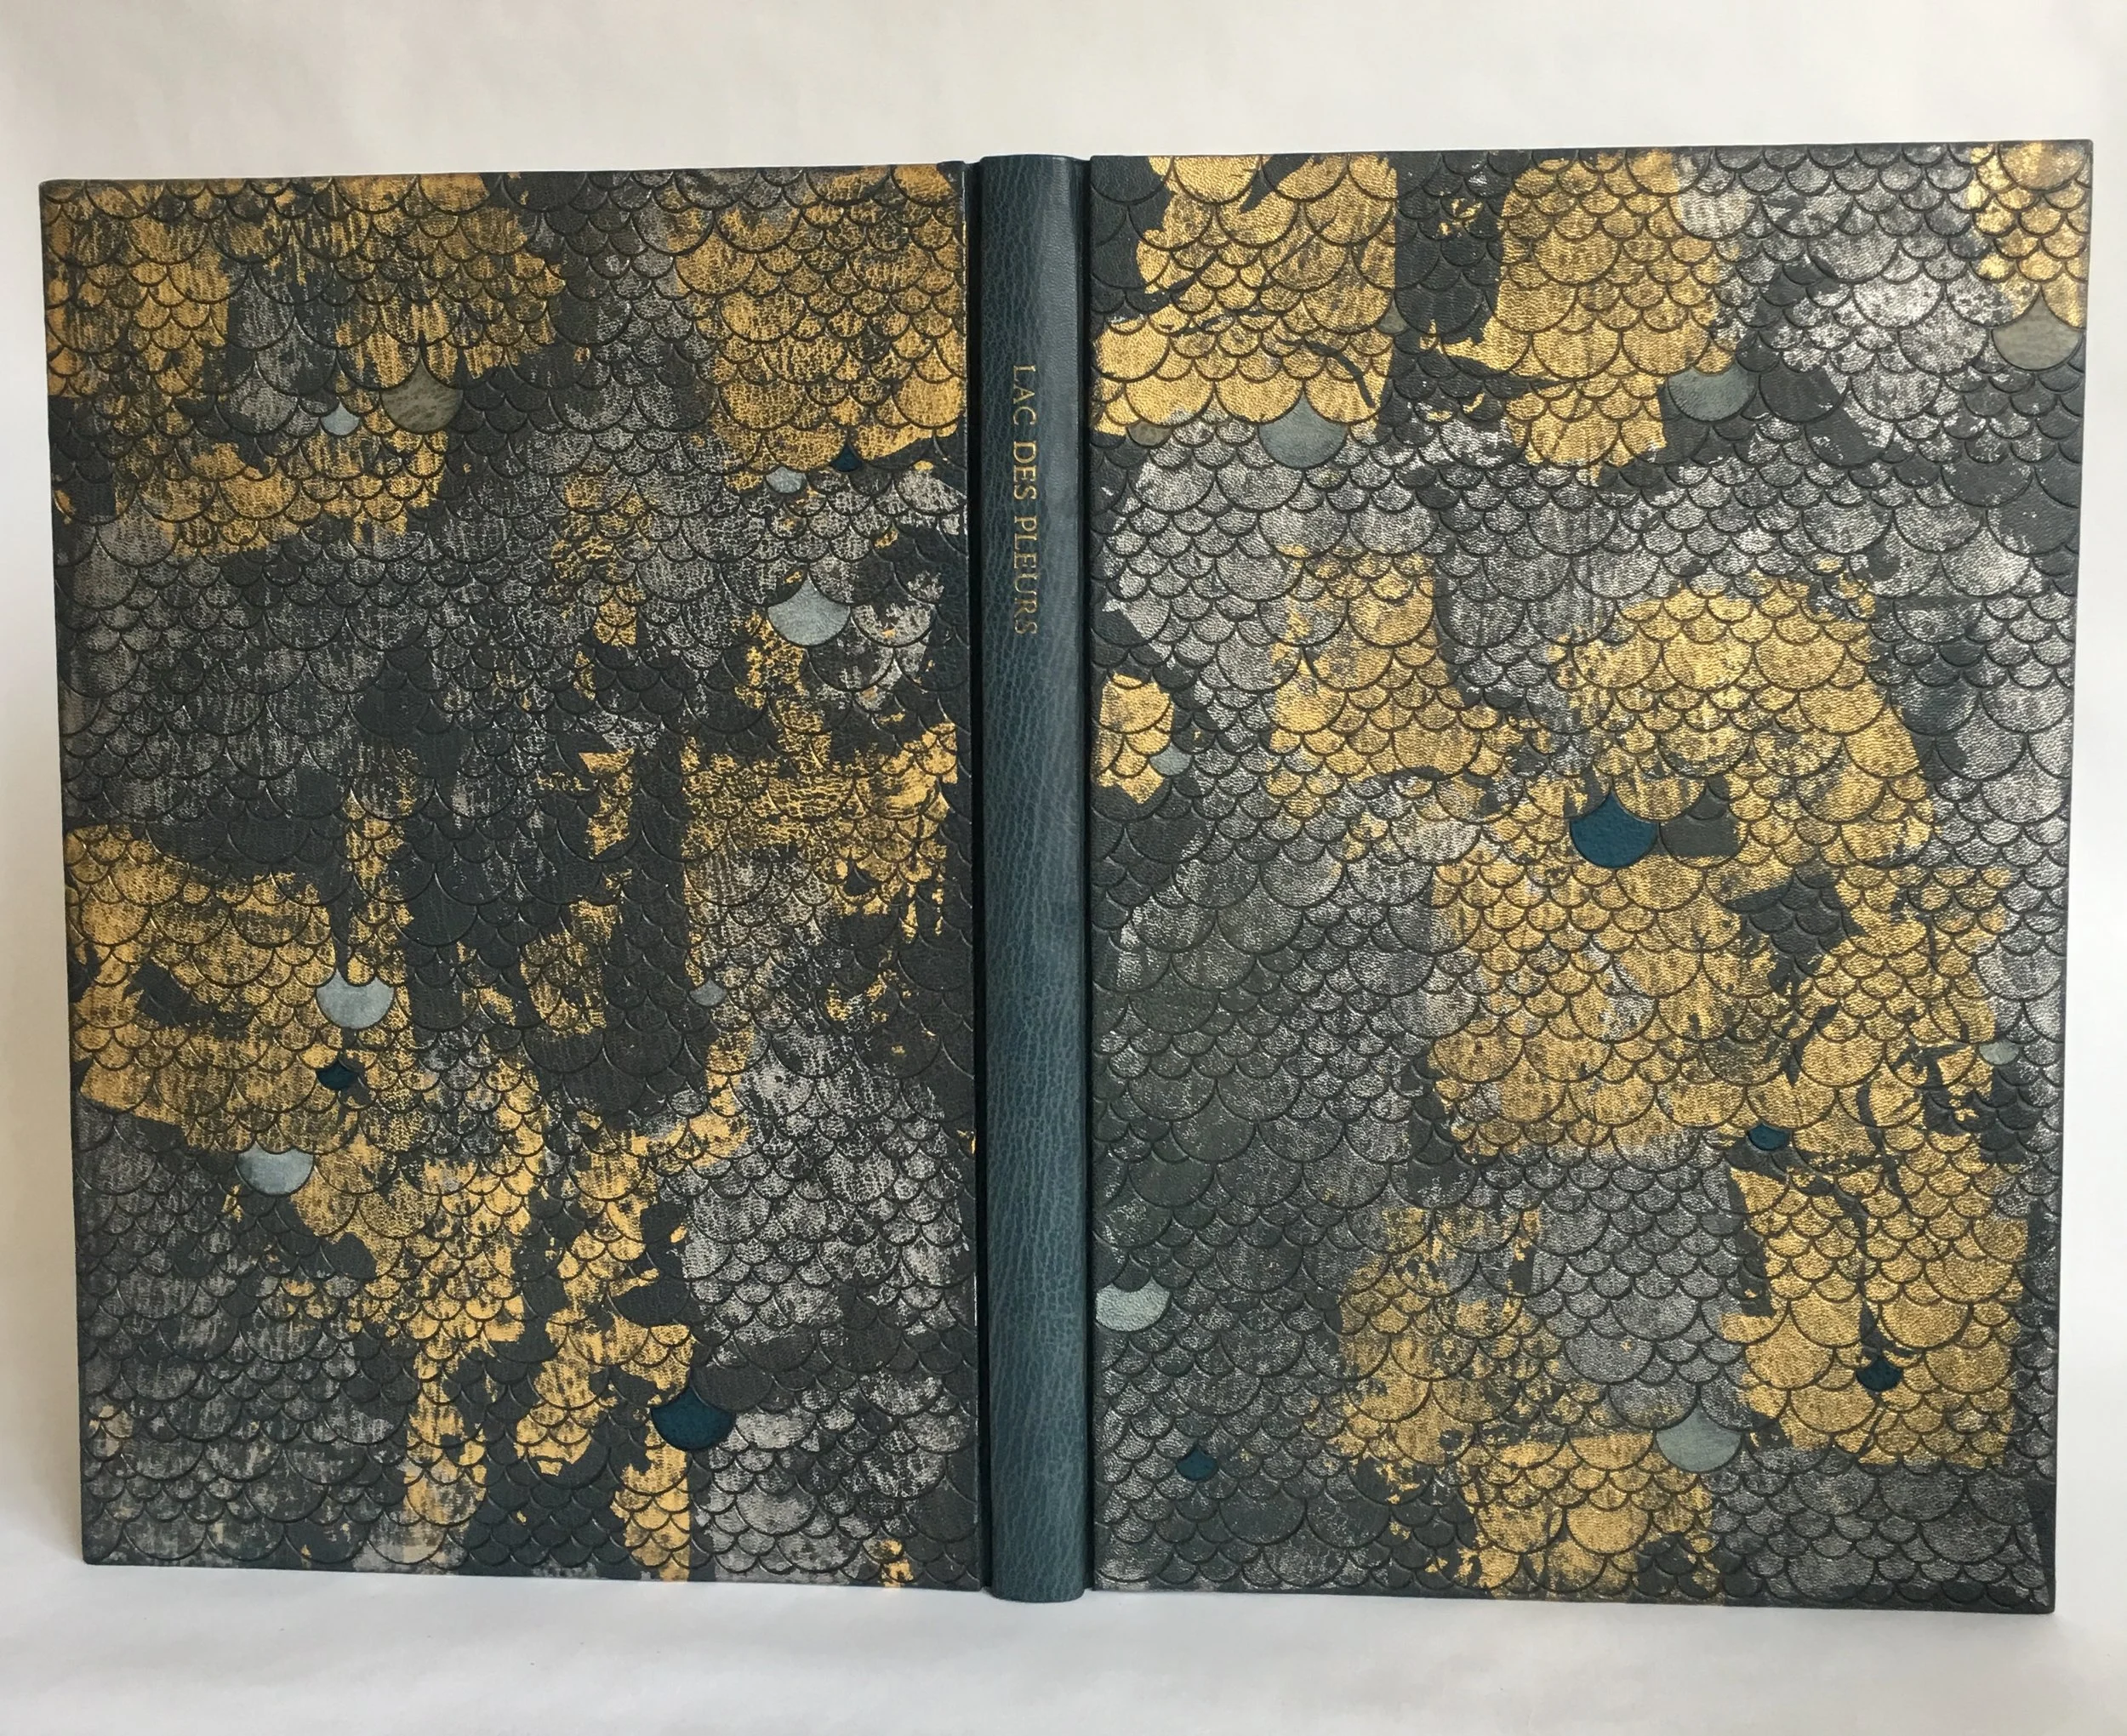
And here it is, all done at last. All told this project took me over a year since I began in the spring of 2018. Of course not all of the time was spent actively working on the project. The book spent plenty of time drying under weight to make sure the boards wouldn’t warp and had a brief stint being displayed as part of a show at the North Bennet Street School here in Boston. Overall I’m pleased with how this book came out. The time and effort put into it paid off.
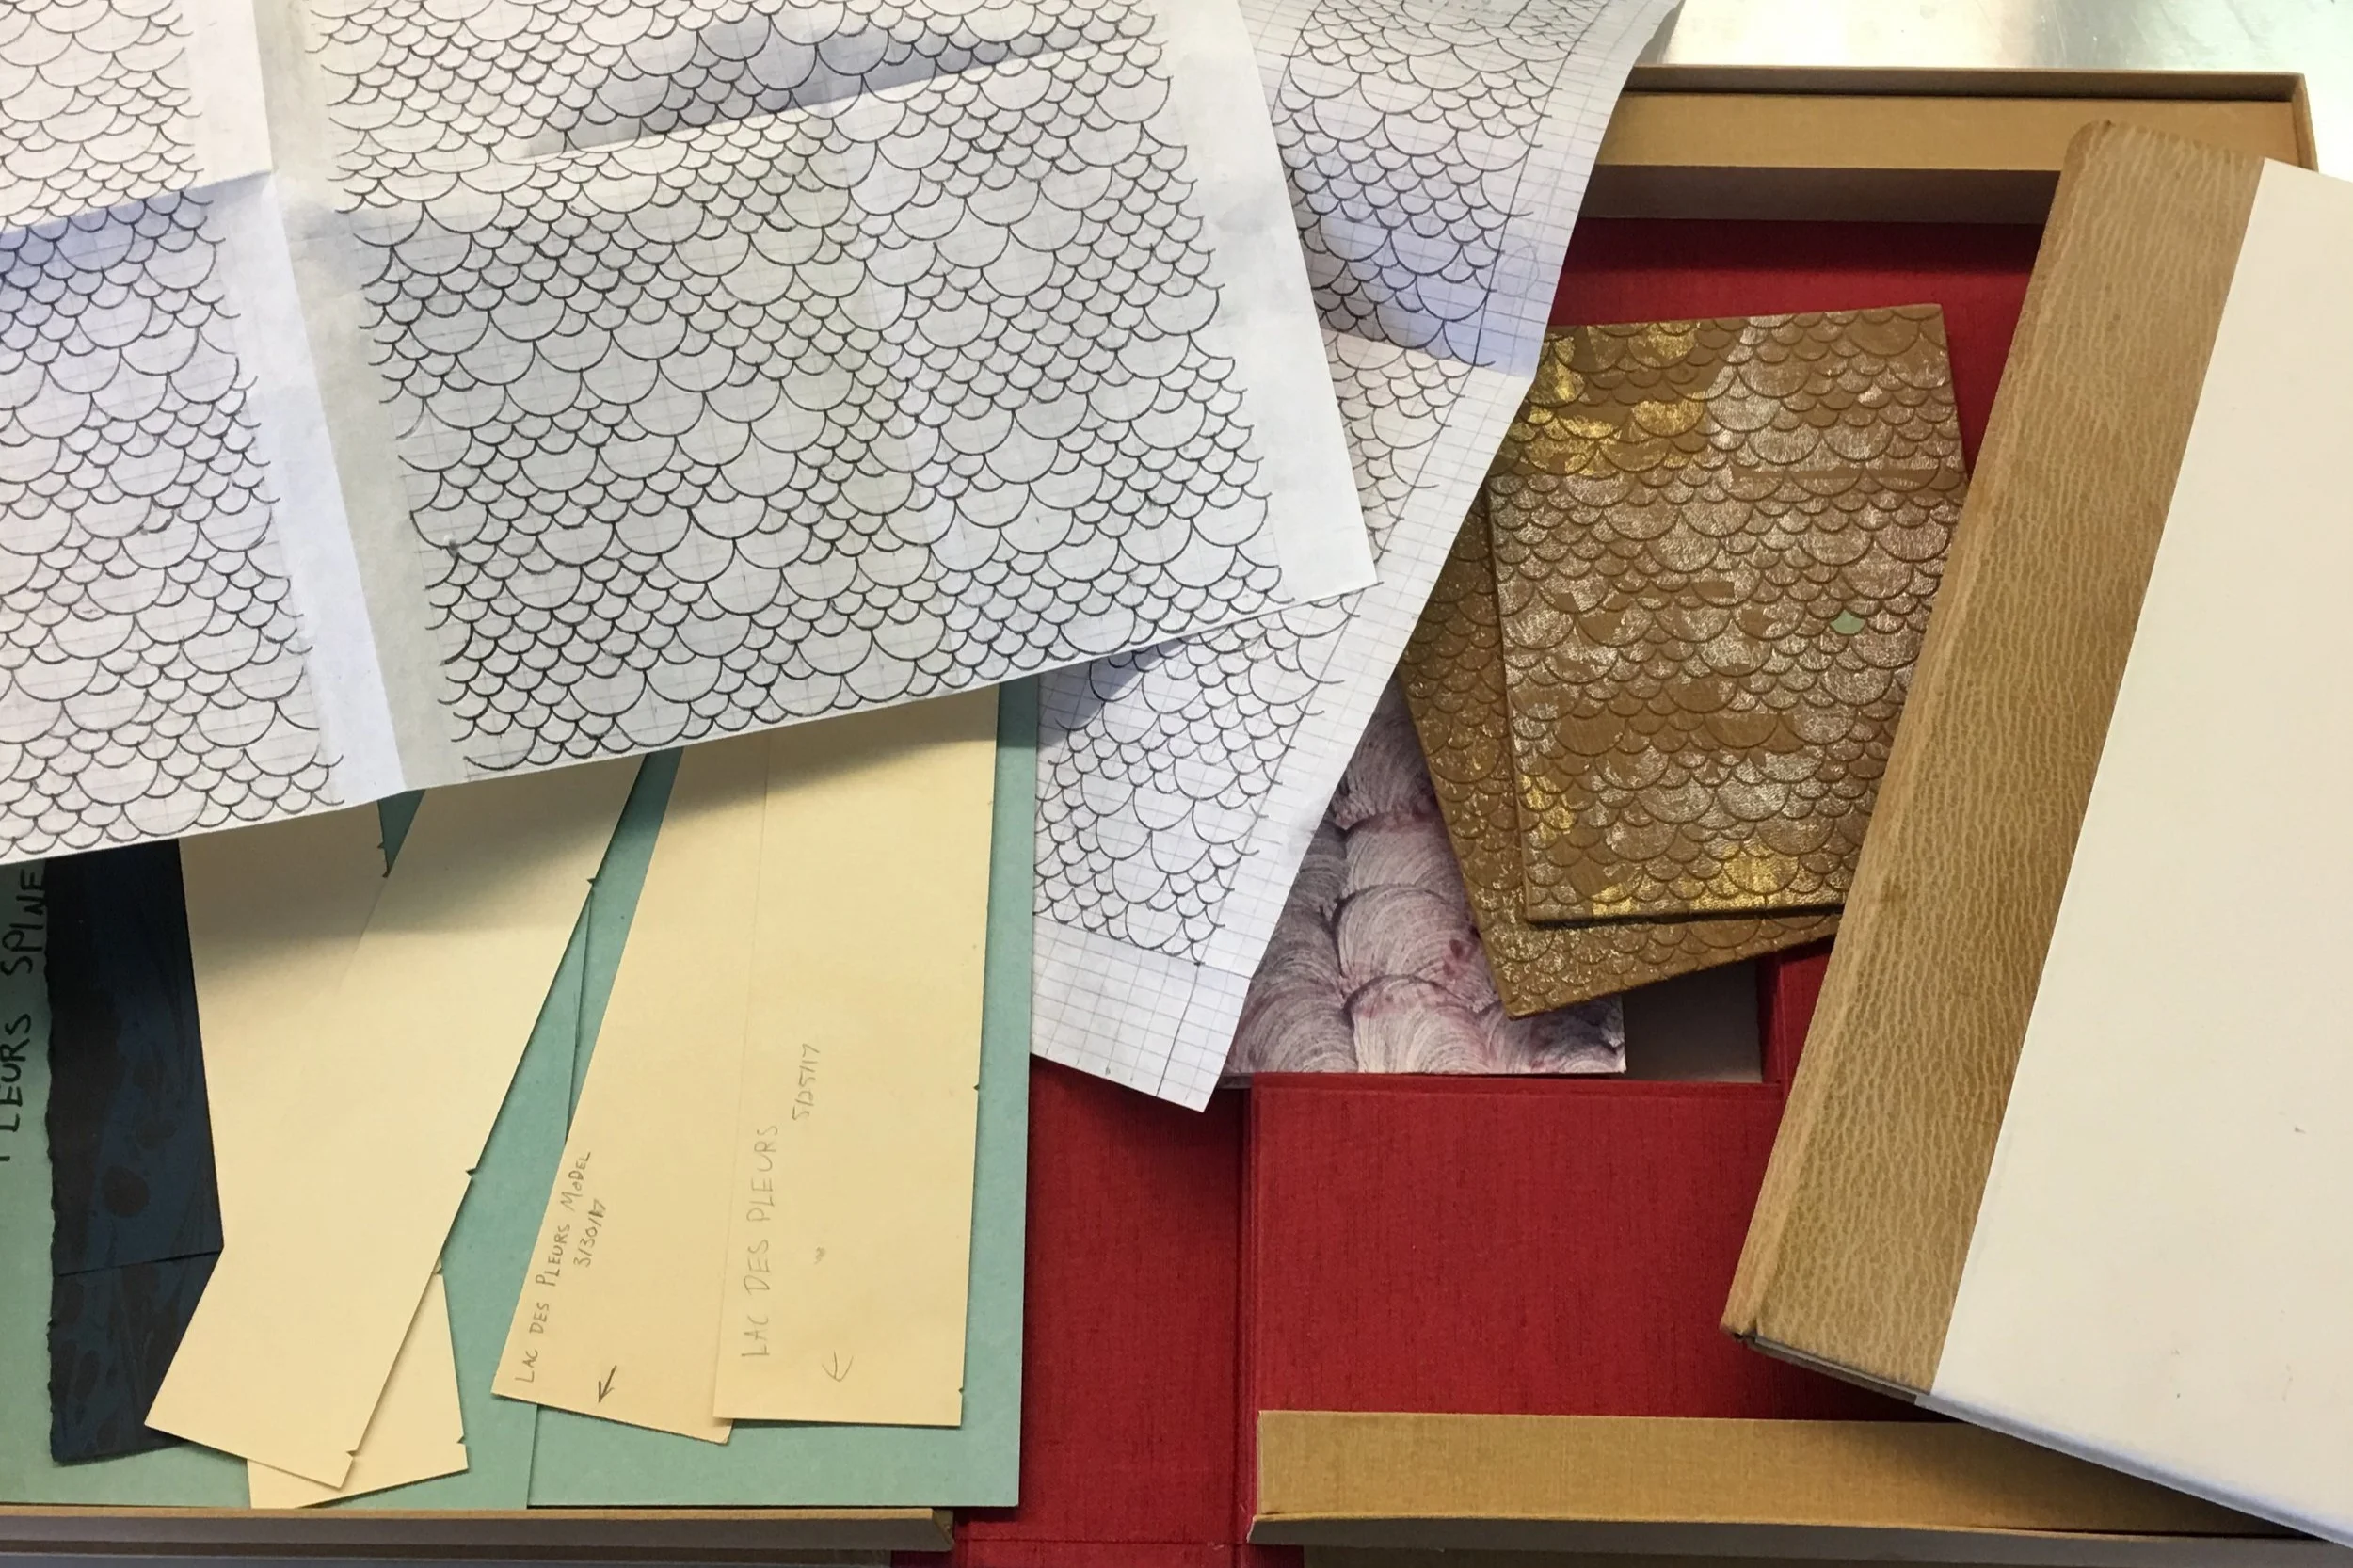
I also took extensive notes on this book. The full size model I made became my log book where I pasted in samples of materials and wrote out what I had done along with additional design thoughts. That book, along with my other model, test plaquettes, spare materials, and templates are all kept safe and sound in their own large box.
Thank you for reading, and if you have questions about this whole thing feel free to email me at colin.urbina@gmail.com. If you’re interested in seeing other things I’m working on, sometimes including work in progress shots, follow me on instagram @low_mountain.